
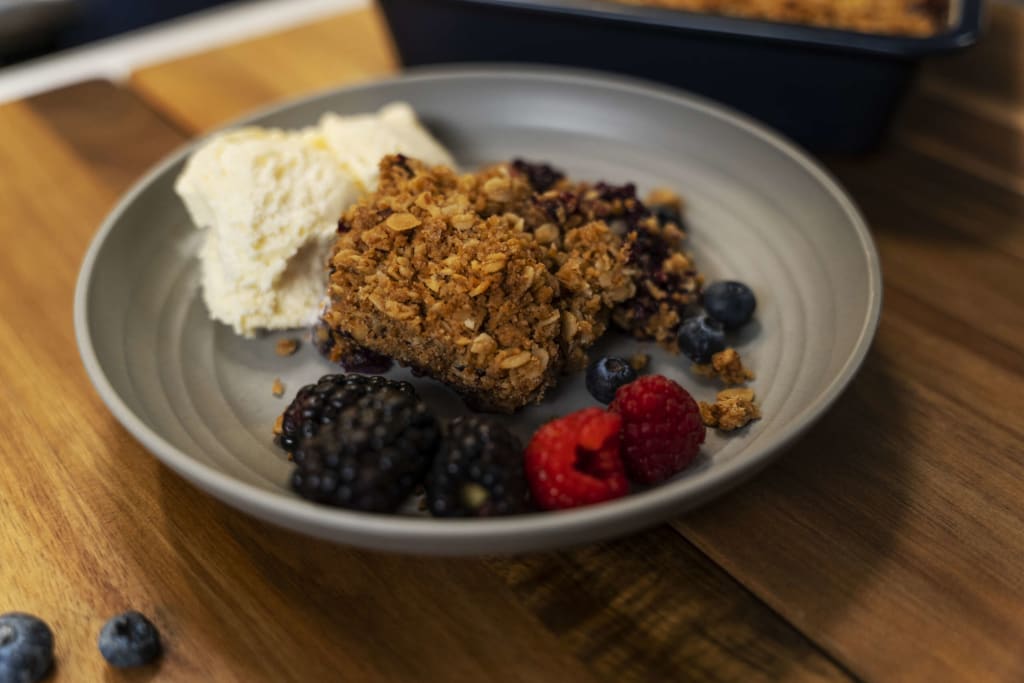
You’ve probably had apple crisp at some point in your life. It may be a favorite of yours. This simple dessert is a tasty modern American tradition that’s popular every fall when a new crop of freshly harvested apples is available. With a big scoop of vanilla bean ice cream, it’s sure to bring you a smile. This recipe takes the traditional and makes it even better with the addition of blueberries, blackberries and raspberries. Sweet, savory and fruity, this dish will fill your entire van with the delicious scent of apples, berries, oats and cinnamon.
This recipe is part of Rec Van’s new YouTube cooking series: Get Cookin’ RV Style. Each road recipe in this series has a short cooking video hosted by an engaging guest chef. We give you a deeper look at how to make the recipe, and offer you van lifestyle tips along the way. Be sure to subscribe to both our Experience Life blog and our YouTube channel for notifications when each new recipe is released.
TRIPLE BERRY APPLE CRISP – OPTIMIZED FOR THE RV’ER
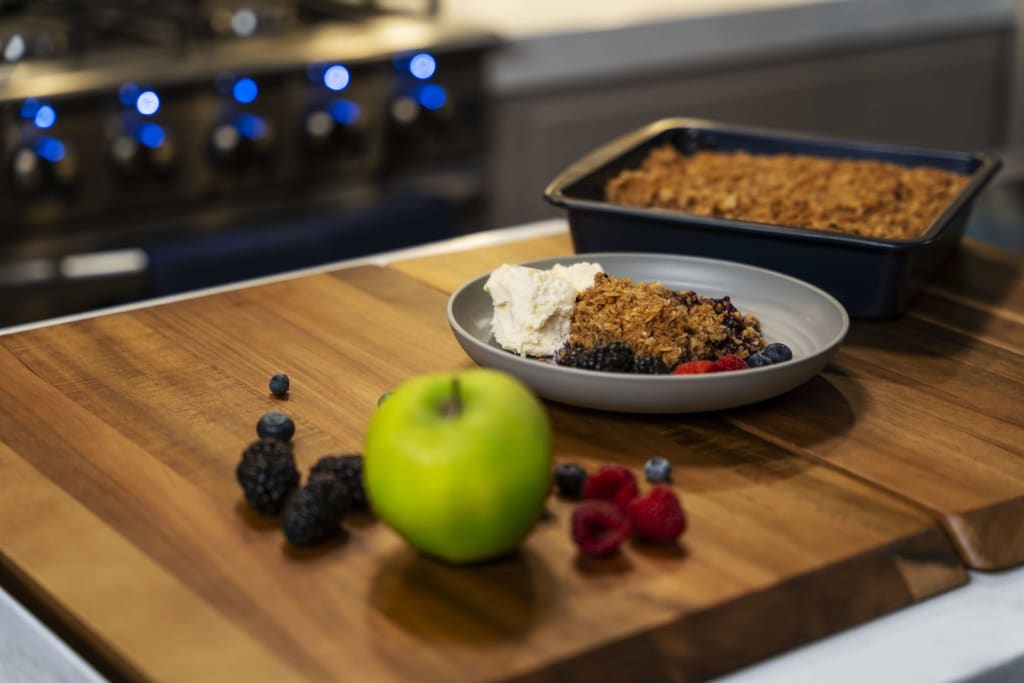
You may be thinking that you can’t bake something like an apple crisp in your RV. But if you have a convection microwave oven, you absolutely can! We sized this apple crisp for an 8” x 8” square pan that can fit in many convection microwaves. If you’re not sure whether or not your microwave oven is convection, check your microwave owner’s manual. You can also look to see if you have a “convection bake” mode button on the front panel. Plus, convection microwaves typically come with a center rack, which you need to use when baking to allow hot air to circulate around the pan like in a standard oven.
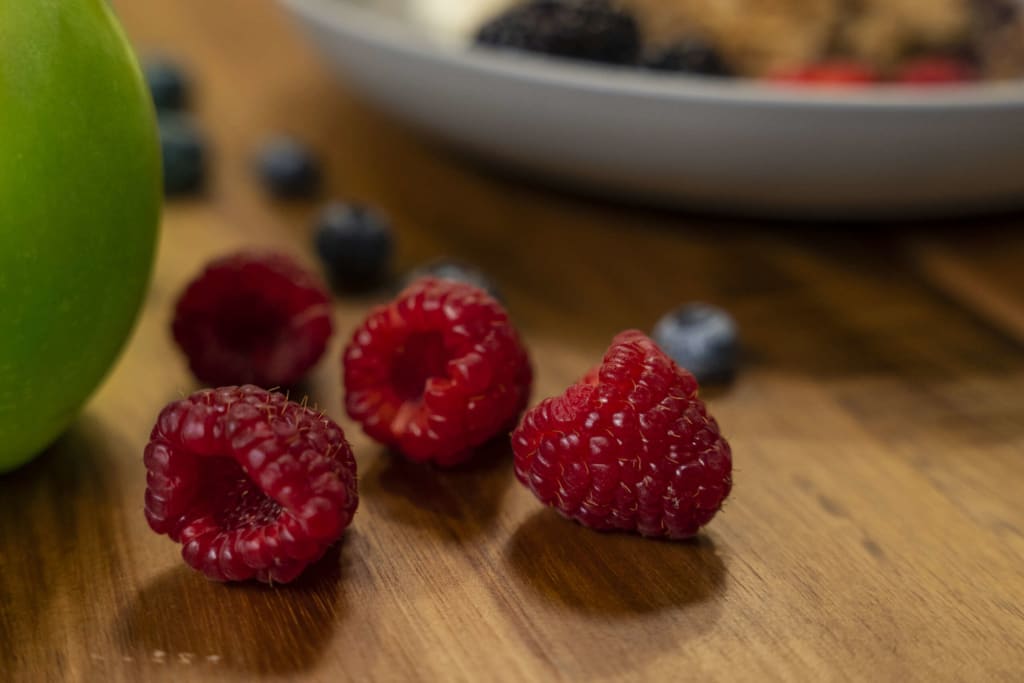
One of the unfortunate realities of the 21st century is the amount of pesticide residues found on conventional produce. Apples are typically on the Environmental Working Group’s Dirty Dozen list for produce. To minimize your exposure to pesticides, it’s best to purchase and eat only organic apples and berries. While the cost may be a bit higher…although not always…it’s a good choice when it comes to your health. Oats and flour are additional ingredients in this dessert that often test positive for glyphosate (the toxic weed-killer in Roundup), so opting for organic with those ingredients is also in your best interest.
If you or someone you are sharing this delicious apple crisp with is gluten-intolerant or eating gluten-free, you can opt to use a gluten free flour instead of conventional wheat flour for the oat streusel topping. And you can find good dairy-free ice creams at many stores now.
Disclaimer: Rec Van has no connection to any of the companies, brands or products listed in this recipe, blog post and video, and does not receive any financial consideration from the companies, brands, and products mentioned. No endorsement of Rec Van by the companies, brands and products mentioned should be assumed.
RECIPE: TRIPLE BERRY APPLE CRISP
Ingredients for one 8” x 8” square pan (6 to 9 servings):
FRUIT FILLING:
– 1 Fresh Lemon – Zest and Juice
– 2 Granny Smith Apples (about 7-8 oz each, or about 1 lb. total) *
– 1 ¼ cups Fresh Blueberries (One 5 to 6-oz. clamshell container)
– 1 ¼ cups Fresh Blackberries (One 5 to 6-oz. clamshell container)
– 3 Tbsp Light Brown Sugar
– 2 ½ Tbsp Cornstarch
– ½ tsp Ground Cinnamon
– ¼ tsp Ground Nutmeg
– 1/8 tsp Ground Cloves
– 1 ¼ cups Fresh Raspberries (One 5 to 6-oz. clamshell container)
* You can also use Honeycrisp, Pink Lady, Fuji or another crisp apple variety.
OAT STREUSEL TOPPING:
– 2/3 cup Light Brown Sugar
– ¾ cup Flour (Regular or Gluten-Free)
– 1 cup Whole Grain Rolled Oats
– 1 tsp Ground Cinnamon
– ½ tsp Baking Soda
– ¼ tsp Salt
– ½ cup Sliced Almonds, chopped slightly (optional – adds a nice crunch)
– 8 Tbsp Butter, melted (one stick)
INSTRUCTIONS (step-by-step):
- Wash and dry the lemon. Grate rind over a small bowl or cup to create lemon zest. Set the zest aside to use later.
- Juice the lemon into a bowl or cup and set it aside.
- Wash, peel and cut each apple (one at a time) into thin slices like for apple pie…about 1/4-inch thick. Collect the slices in a large mixing bowl, coating them with a bit of lemon juice as you slice them, to keep them from turning brown.
- After the apples are sliced, gently stir the slices to make sure they are all coated with lemon juice. Pour off any excess lemon juice at the bottom of the bowl.
- Add the blueberries and blackberries to the apple slices. SAVE the raspberries to be added later (since they are so delicate).
- Add the reserved lemon zest.
- In a separate small mixing bowl, sift-in the 3 Tbsp of brown sugar (to remove any hard sugar clumps).
- Add the cornstarch, cinnamon, nutmeg and cloves. Whisk the dry ingredients together well.
- Add the cornstarch-brown sugar mixture to the apples, blueberries and blackberries and gently stir it to coat all of the fruit well.
- Carefully pour or spoon the fruit filling into the 8” x 8” square baking pan.
- Add the raspberries on top of the fruit filling in the pan.
- Preheat the convection microwave oven to 325 degrees Fahrenheit (or 350 degrees Fahrenheit in a standard oven).
- In a medium mixing bowl, sift-in the 2/3 cup brown sugar (to remove any hard sugar clumps) for the oat streusel topping.
- Add flour, oats, cinnamon, baking soda and salt.
- If using the sliced almonds for a nice crunch in the topping, chop them up just slightly and add them to the other dry ingredients. With a spoon, mix all the dry ingredients together well.
- Add the melted butter. Stir the butter and dry mixture together well to combine everything. Use your hands to incorporate it, if necessary.
- Pour the topping on top of the fruit mixture in the pan and gently spread it out. Leave the top with a rough, irregular texture instead of making it smooth and flat.
- In a RV convection microwave oven, bake at 325 degrees Fahrenheit for 50-60 minutes on the center metal rack, until the topping is browned but not burnt and the apples are soft. Extra time may be needed for your convection microwave. Note that the temperature of 325 degrees takes into account the 25 degree reduction in baking temperature often recommended by the convection microwave oven manufacturers in their Owner’s Manuals.
- Check the crisp by using a fork or a toothpick to poke into the crisp and verify that the apples are soft.
Note for Baking in a Standard Oven: Bake the crisp on a rack one notch above center at 350 degrees for 50-60 minutes, until the topping is browned but not burnt and the apples are soft when a toothpick or fork is poked into the crisp. You might want to put a baking sheet on a rack below the pan to catch any fruit filling that bubbles over.Note on Quantity: The recipe can be doubled and baked in a 9×13 metal pan or glass dish.
START-TO-FINISH TIME: 2 – 2.5 hours
NUTRITION FACTS:


COOKING TOOLS NEEDED:
- Cutting board
- Kitchen knife (or knife set)
- Hand zester grater
- Small cup or bowl for holding lemon zest
- Small cup or bowl for holding lemon juice
- Apple corer (optional)
- Large mixing bowl
- Mixing spoon
- Measuring spoon set
- 8” x 8” square baking pan (metal or glass)
- 2 Medium mixing bowls
- Small hand sifter
- Measuring cup set
- Small microwave-safe cup or bowl for melting butter
- Silicone serving spatula
- Oven mitts/gloves
Looking for more Get Cookin’ recipe videos to elevate the way you eat while traveling? Click here for our YouTube playlist.

